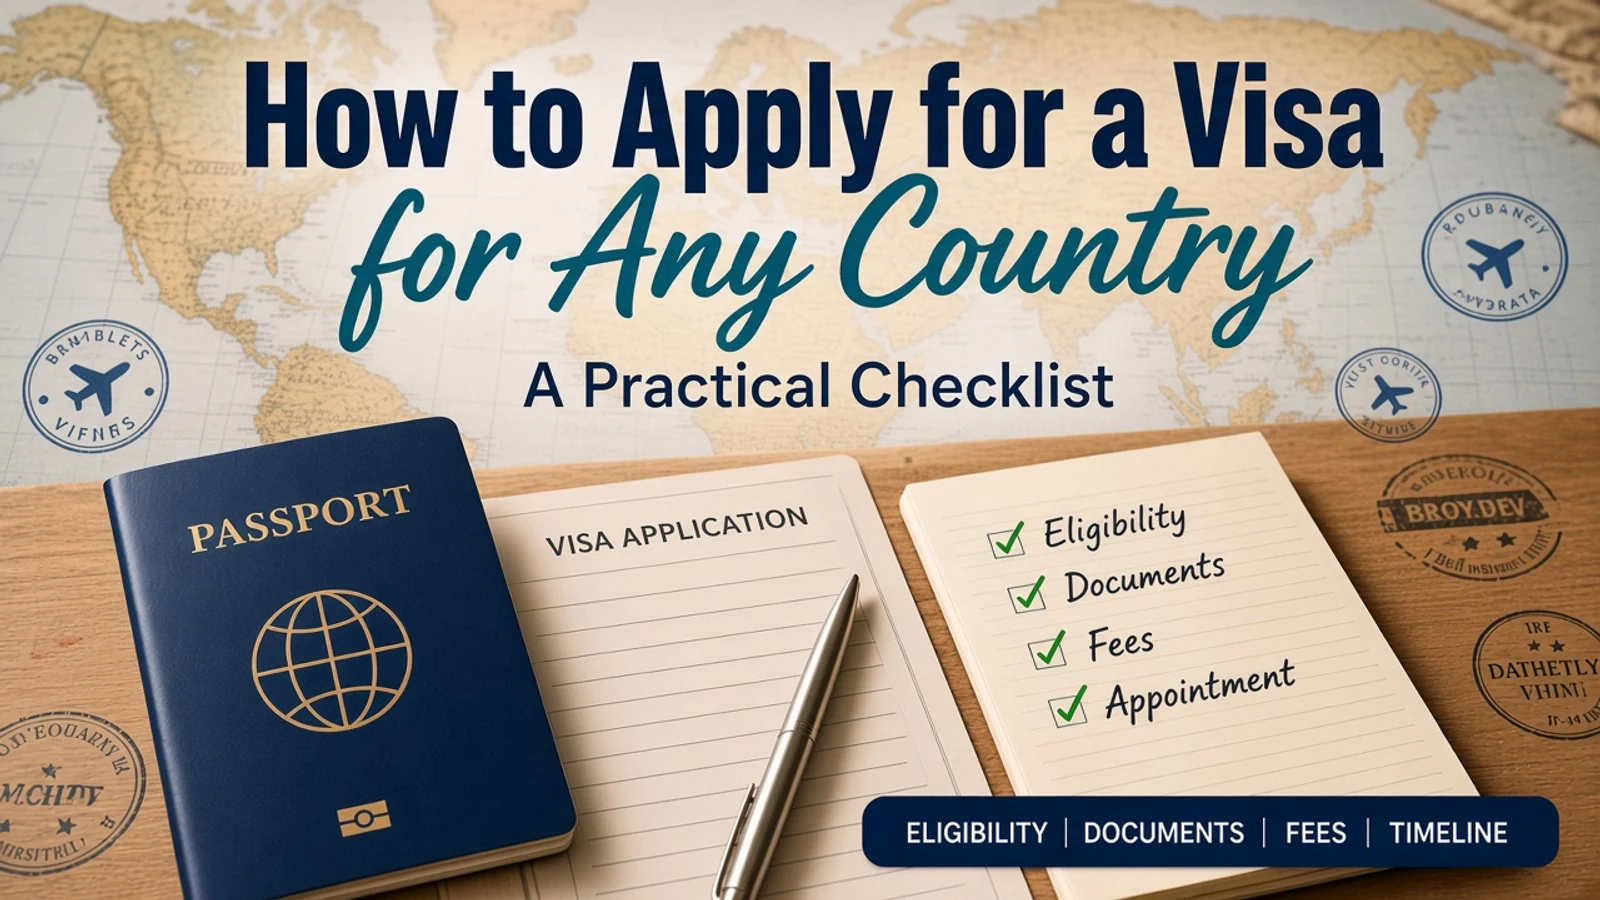
To apply for a visa for any country, start by checking the official rule for your passport, travel purpose, stay length, and entry method. Then choose the correct visa type, collect documents, complete the form, pay the fee, attend biometrics or an appointment if required, and track the result. Do not rely only on social media examples, because visa rules change and two travelers with similar plans can have different requirements.
The safest visa application is not the thickest file. It is a file that answers the officer's core questions clearly: who you are, why you are going, how long you will stay, how you will pay, and why you are likely to follow the conditions.
Step 1: Confirm Whether You Need a Visa
The first mistake is assuming a friend's rule applies to you. Visa requirements depend on nationality, residence, destination, purpose of travel, length of stay, passport type, and sometimes where you are arriving from.
Use the destination country's official immigration website, embassy website, or authorized visa portal. Airlines and travel forums can help you spot questions, but they should not be your final source.
If you are planning a Southeast Asia route, compare each country separately. A traveler may enter Malaysia differently from Vietnam eVisa applicants or Thailand tourists.
Step 2: Match the Visa to Your Purpose
Tourism, business meetings, study, employment, medical travel, transit, family visits, and remote work can fall under different rules. The title of the visa matters.
Do not choose a tourist visa because it looks easier if your real purpose is work, study, or paid activity. That can create problems at application stage or border inspection.
For digital nomads, this is especially important. Some countries tolerate laptop work during tourism; others have specific remote work rules. Start with our comparison of digital nomad visas and tourist visas.
Step 3: Read the Official Document List
Most visa applications ask for a passport, photo, application form, travel plan, accommodation, proof of funds, and return or onward travel. Some also ask for insurance, employer letters, invitation letters, tax records, bank statements, or criminal record checks.
Read the official list line by line before collecting documents. Requirements may differ by nationality or application location.
If a document is optional but strengthens a weak area, include it if the portal allows. If the portal asks for a specific file type or size, follow it exactly.
Step 4: Prepare a Clean Application File
A strong file is easy to review. Use readable scans, consistent names, current documents, and simple explanations.
Your passport should usually be valid beyond the planned stay. Many countries require at least six months of validity, but rules vary. Do not assume.
Bank statements should show enough funds for the trip and a pattern that makes sense. Sudden unexplained deposits can raise questions. Employment or business evidence should match the income story in the application.
Step 5: Fill the Form Carefully
Visa refusals often begin with small form errors. Passport number, date of birth, name order, previous names, address, travel dates, and contact details should match your documents.
If a question feels unclear, check the official help notes before guessing. Save drafts as you go, and review the whole form before payment.
For families or couples, each person usually needs an individual application. Do not copy answers blindly if travel history, job, or funding is different.
Step 6: Handle Fees and Appointments
Visa fees can depend on nationality, visa type, processing speed, and service center. They can change without much public attention, so check the fee at the moment you apply.
Some applications require an appointment for biometrics, fingerprints, passport submission, or interview. Book early, especially in high season.
Keep receipts and appointment confirmations. If the system fails during payment, wait for confirmation before starting again.
Step 7: Track the Application Without Panicking
After submission, use the official tracking tool if available. Processing times are estimates, not promises. A status that stays unchanged for several days is not always a problem.
Avoid sending repeated emails unless the case is outside the stated timeline or you were asked for extra documents.
If your passport is held by the visa center, do not book travel that requires it until you know when it will be returned.
Step 8: Understand Common Refusal Reasons
Common refusal reasons include insufficient funds, unclear purpose, weak ties to home or residence, inconsistent documents, previous overstays, wrong visa category, missing information, or doubt that the traveler will leave on time.
A refusal does not always mean a permanent ban, but it must be taken seriously. Read the refusal letter carefully before reapplying.
Fix the reason, not just the paperwork. If the officer doubted your funds, a new cover letter without better financial evidence may not help.
Step 9: Check the Visa Before You Travel
When the visa is issued, check your name, passport number, visa type, entries, validity dates, allowed stay, and conditions. Mistakes should be corrected before travel.
Some visas are valid for entry only during a certain window. Others allow a stay counted from the entry date. Read the wording.
For region planning, also review country-specific pages such as Malaysia entry requirements before building a multi-stop trip.
Final Checklist
Before submission, ask yourself: Is this the right visa? Are the dates consistent? Are documents readable? Is the funding clear? Is the purpose honest? Have I used the official portal or authorized center?
That checklist cannot guarantee approval, but it removes many preventable mistakes.
Visa applications feel less intimidating when treated as evidence organization. Answer the officer's questions clearly, follow the current official instructions, and leave enough time for the process to work.