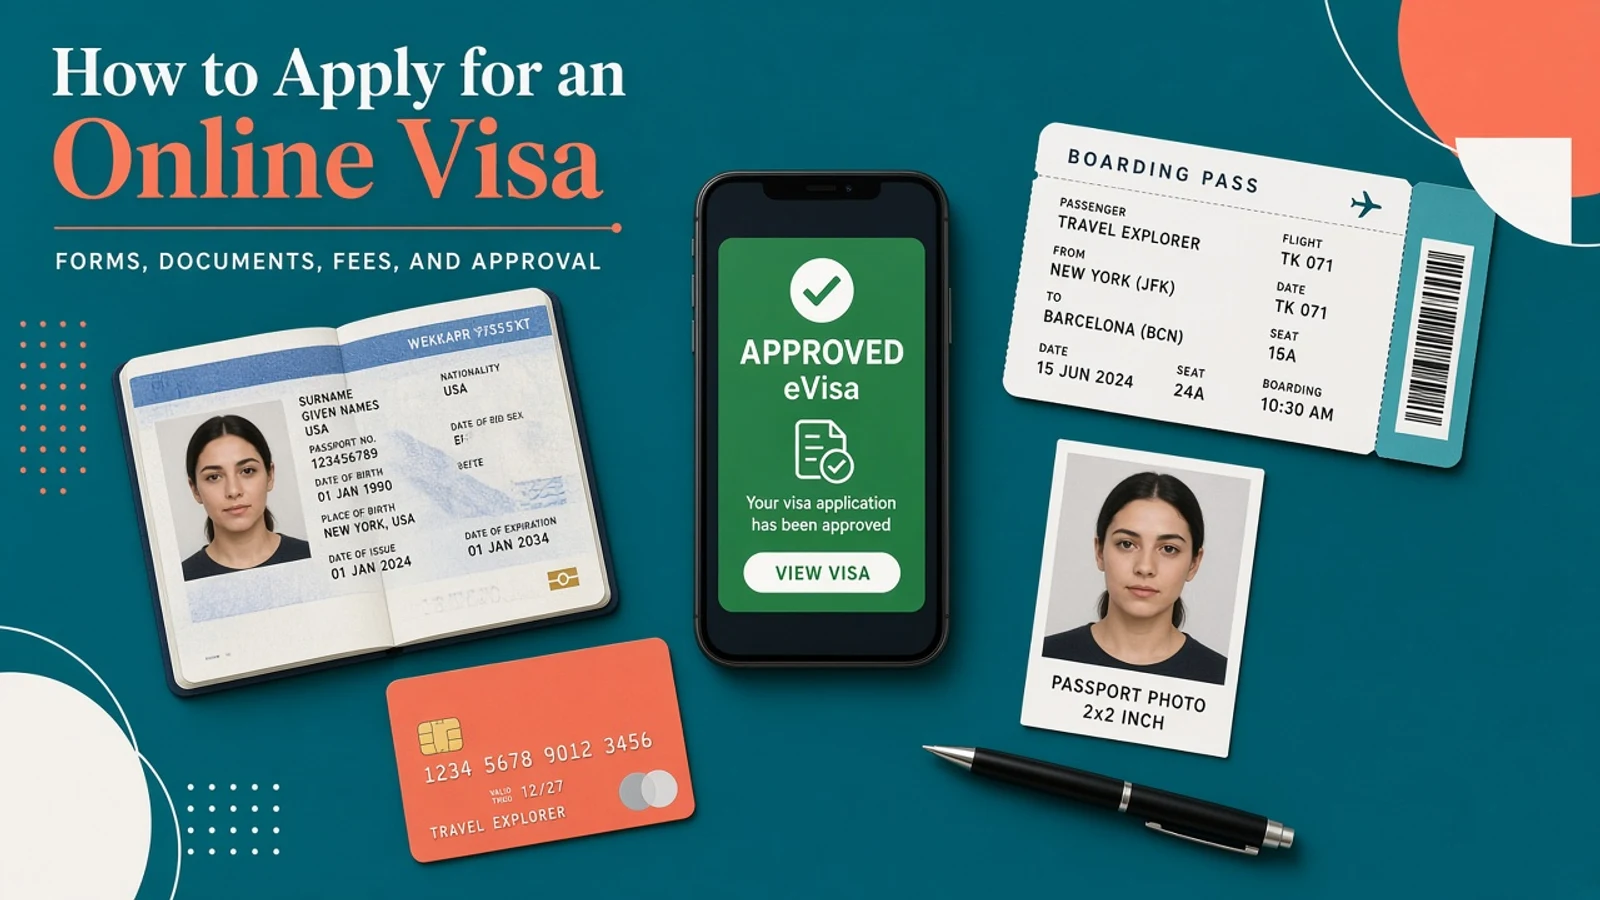
To apply for an online visa, use the official government or authorized visa portal, create an application, upload the required documents, pay the fee, and wait for approval before traveling. The exact process varies by country, but the main risks are the same everywhere: using the wrong website, choosing the wrong visa type, uploading unclear documents, entering passport details incorrectly, or assuming approval is automatic.
An online visa is convenient because you can apply from a laptop. It is still a formal immigration decision. Treat it with the same care you would give an embassy application.
What an Online Visa Actually Is
An online visa is a visa or travel authorization requested through a digital portal instead of a paper form at an embassy. Some countries call it an eVisa, ETA, electronic travel authorization, or online pre-arrival registration.
These systems are not identical. One may grant a full visa before travel. Another may only authorize you to board a flight and still require final approval at the border.
Read the official wording before you assume what the document allows.
Start With the Official Portal
Search results can be messy. Many private services buy ads for visa keywords and make their pages look official. Some are legitimate agencies; others are expensive middlemen or risky lookalikes.
The safest route is to start from the destination country's immigration department, foreign ministry, or embassy page. Follow its link to the online system.
This matters for high-volume routes such as India eVisa processing and Vietnam eVisa applications, where travelers often encounter unofficial sites.
Choose the Correct Visa Type
Before uploading anything, choose the right category. Tourist, business, conference, medical, student, transit, and remote work categories may have different rules.
If you plan to work for a local employer, sell services locally, study, volunteer, or stay longer than a standard tourist visit, do not assume a tourist eVisa is enough.
Remote workers should be especially cautious. Read the visa conditions and compare them with our guide to remote work on a tourist visa.
Prepare Digital Documents
Online portals usually reject or delay weak files. Prepare clear scans before you begin.
Common uploads include passport bio page, passport-style photo, flight or travel plan, accommodation booking, proof of funds, employment evidence, invitation letter, or insurance. Requirements vary by country and purpose.
Use the exact file type and size requested. If the portal asks for a white background photo, do not upload a cropped vacation selfie. If it asks for a full passport page, do not crop out the machine-readable zone.
Fill the Form Slowly
Online forms make errors easy because browsers autofill old information. Check every field manually: name order, passport number, issue date, expiry date, nationality, birth date, email address, and travel dates.
Use the passport as the source of truth. If your name contains initials, hyphens, or multiple surnames, follow the instructions on the form.
For address fields, be consistent with supporting documents. For travel plans, do not invent details that conflict with bookings or invitation letters.
Pay the Fee and Save Proof
Most online visas require card payment. Fees may be official government fees, service center fees, or agency fees depending on the portal.
Before paying, confirm the amount, currency, refund policy, and whether the page is secure. Save the receipt or payment reference.
If payment fails, do not repeatedly submit the same application without checking whether a transaction was captured. Duplicate payments can be difficult to untangle.
Track the Status
After submission, you should usually receive an application number or confirmation email. Save it immediately.
Use the official status checker where available. A pending status does not always mean something is wrong. If extra documents are requested, respond with exactly what was requested and keep copies.
Avoid making non-refundable travel plans that depend on a processing estimate unless you accept the risk.
Check the Approval Before Departure
When approval arrives, compare it against your passport and itinerary. Check name, passport number, validity, visa category, number of entries, allowed stay, and permitted entry points.
Some approvals are valid only for certain airports, seaports, or arrival dates. Others require a printed copy or additional arrival card.
If Malaysia is part of your route, review the current Malaysia entry requirements as well as any visa-free rules for your nationality.
Keep Copies While Traveling
Save the approval PDF offline on your phone and in cloud storage. Print a copy if the destination recommends or requires it.
Carry the same passport used for the application. If you renew your passport after approval, check whether the visa remains valid or needs reapplication.
At check-in and immigration, answer questions simply and consistently with the application.
Final Advice
Online visas reduce paperwork, but they reward careful reading. Use the official source, apply early, upload clean files, and check the approval before travel.
If anything about your purpose is unusual, ask the embassy or official support channel rather than relying on a generic online answer. A few extra minutes before submission can prevent expensive problems at the airport.