Applying for a digital nomad visa is less about one big form and more about building a clear story.
The country wants to know who you are, how you earn money, whether your work is genuinely remote, whether you can support yourself, and whether you will follow the rules while living there.
If your documents answer those questions cleanly, the process feels much easier. If your income proof is scattered across screenshots, random invoices, and half-finished bank statements, even a strong applicant can look risky.
This guide walks through the digital nomad visa application process step by step, from choosing a country to arriving and registering after approval.
Choose the Right Country
Start with lifestyle, but do not stop there.
It is easy to choose a digital nomad visa because you like the photos: beaches in Thailand, cafes in Lisbon, old towns in Spain, islands in Greece. Those things matter, but the visa has to fit your real life.
Before choosing a country, ask:
- Can I meet the income requirement?
- Is my work type eligible?
- Can I get the required documents?
- Does the visa allow my family to join?
- Can I afford rent and healthcare?
- Will the time zone work with my clients or employer?
- Could I become tax resident?
- Do I actually want to live there outside holiday mode?
The best digital nomad visa is not the one everyone talks about. It is the one you can qualify for and enjoy living under.
Check Eligibility
Once you have a shortlist, check the official rules.
Digital nomad visa eligibility usually depends on:
- nationality
- passport validity
- remote income
- work type
- clean criminal record
- health insurance
- minimum income
- application location
Read the rule for your situation, not just the general headline.
Remote employees should confirm that their employer allows work from the destination country. Freelancers should confirm that overseas clients count. Business owners should check whether company dividends, salary, or business income are accepted.
This is also the moment to check tax. If you plan to stay six months or longer, do not guess. Speak with a tax professional who understands cross-border remote work.
Prepare Your Documents
Document preparation is where most applications are won or lost.
Build a folder with:
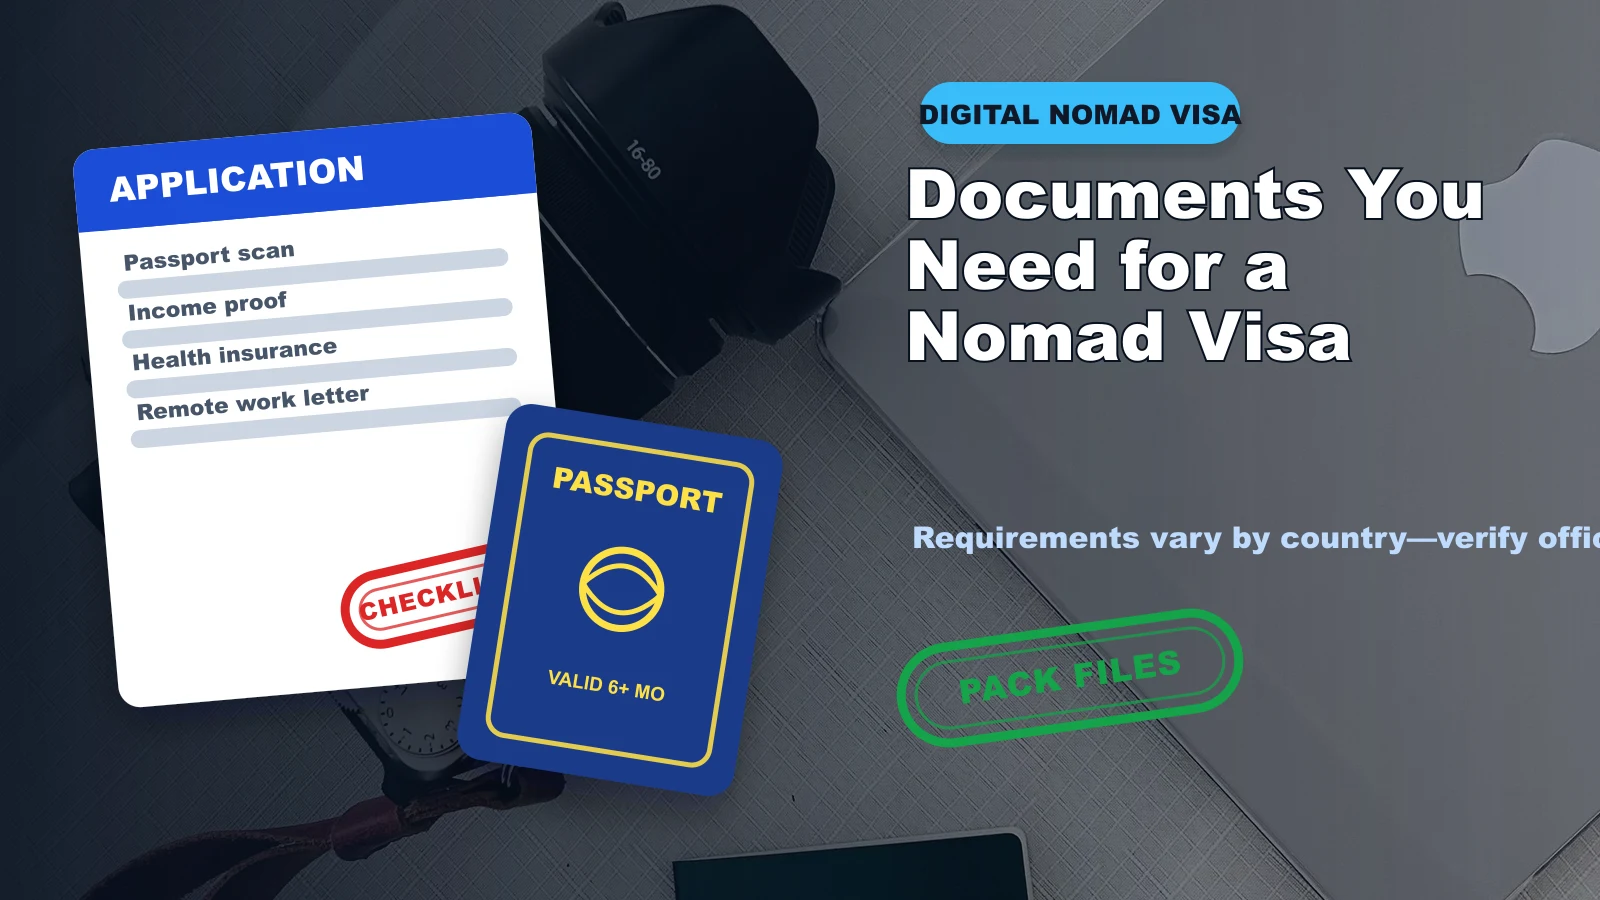
- passport scan
- passport photos
- employment contract or client contracts
- employer remote-work letter
- invoices
- bank statements
- payslips
- tax returns
- health insurance certificate
- criminal background check
- accommodation proof
- marriage or birth certificates for dependents
- translations if required
- apostille or legalization if required
For income proof, show a pattern. Immigration officers want to see that your income is stable enough to support your stay. Three to six months of bank statements are common, but some programs ask for more.
If you are a freelancer, include a short explanation of your work. Keep it simple: what you do, who your clients are, where they are based, and how you get paid.
Submit Your Application
Submission depends on the country.
You may apply:
- through an online portal
- at an embassy or consulate
- through a residence office
- through an approved immigration platform
- with help from a lawyer or agent
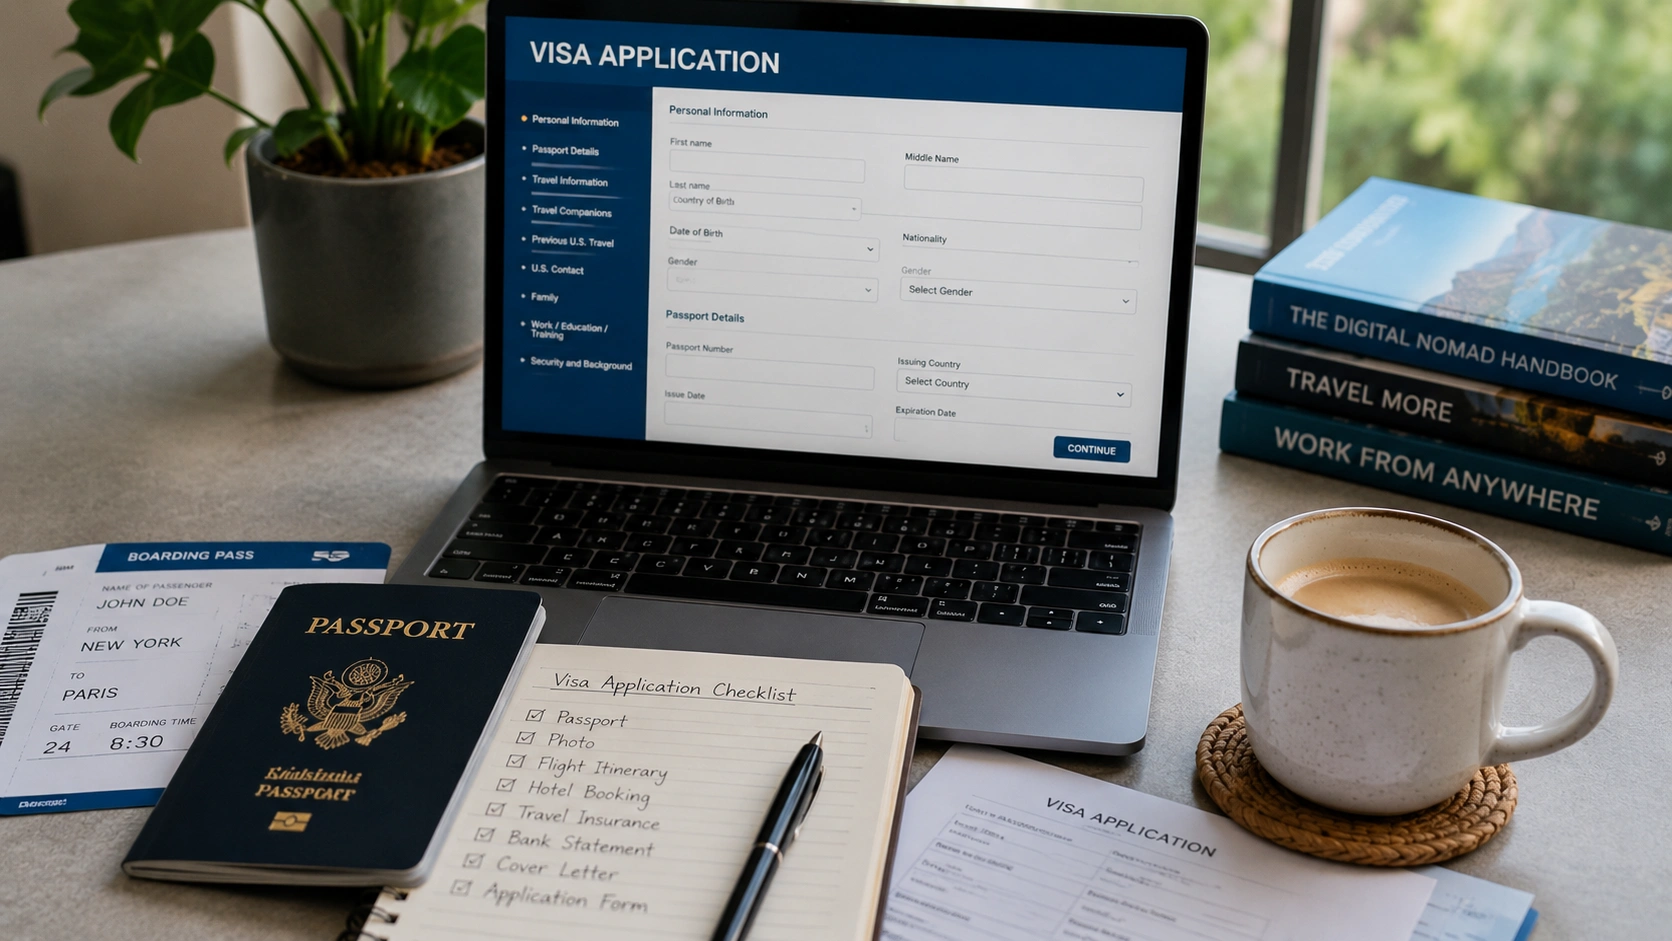
- full name
- date of birth
- passport number
- issue and expiry dates
- nationality
- address
Pay the correct fee through the official channel. Be cautious with websites that look official but are actually private agencies. Agencies can be useful, but you should know when you are paying extra for assistance rather than applying directly.
Save receipts, confirmation numbers, and copies of the full application.
Wait for Approval
Waiting is the least glamorous part of the process.
Some countries process digital nomad visas quickly. Others take weeks or months. Appointment systems, public holidays, missing documents, and background checks can all slow things down.
During the wait:
- monitor your email
- check spam folders
- respond quickly to document requests
- keep your current legal stay valid
- avoid booking non-refundable long-term housing too early
- keep bank balances stable if possible
Arrive and Register
Approval is not always the end of the process.
Some countries require registration after arrival. That may include:
- registering your address
- collecting a residence card
- attending an appointment
- submitting biometrics
- joining a local tax or social system
- updating insurance or housing records
Once you arrive, create a small admin checklist:
- confirm your allowed stay date
- save visa and residence documents offline
- register your address if required
- keep rent receipts or contracts
- track days in country for tax purposes
- understand renewal deadlines
Tips to Improve Your Chances
Make your application boring in the best way.
That means:
- clear documents
- consistent names and dates
- stable income proof
- insurance that matches requirements
- no unexplained gaps
- no blurry scans
- no guessing on forms
Avoid applying to a country only because the income threshold looks easy. You still have to live there. Think about healthcare, weather, rent, safety, internet, food, and time zones.
Also remember that a digital nomad visa does not solve everything. It gives you permission to stay under certain conditions. You still need to manage taxes, clients, banking, insurance, and daily life.
Final Thoughts
A digital nomad visa application is not just paperwork. It is proof that your remote life is stable enough to bring into another country.
Choose carefully, prepare clean documents, apply early, and leave room for delays.
When done well, the visa can turn a place from a short trip into a real base. That stability is the whole point.